To install DocBrown you will need PH#2 screwdriver.
Installation instructions:
Please follow the steps outlined below. Do not use force – especially when plugging in the data cable – to avoid any damage. The photos are of Marty 1 but the procedure is identical for Marty 2. Click on any to get a bigger version.
- Disconnect all cables from the console
- Remove disc from drive and close the lid
- Place the console upside-down on a firm surface
NOTE: Marty’s upper cover is not flat so some folded cloth might help to keep it more stable and prevent scratches.
- Remove 4 screws located in/near the corners using a Phillips PH#2 screwdriver

- Hold the console by sides with both hands and carefully rotate it to upright position
IMPORTANT: Make sure the now unscrewed upper cover does not fall down. It holds down the CD-ROM drive assembly, which might became loose and pull/damage the data cable.
- Lift Marty’s upper cover and place it aside
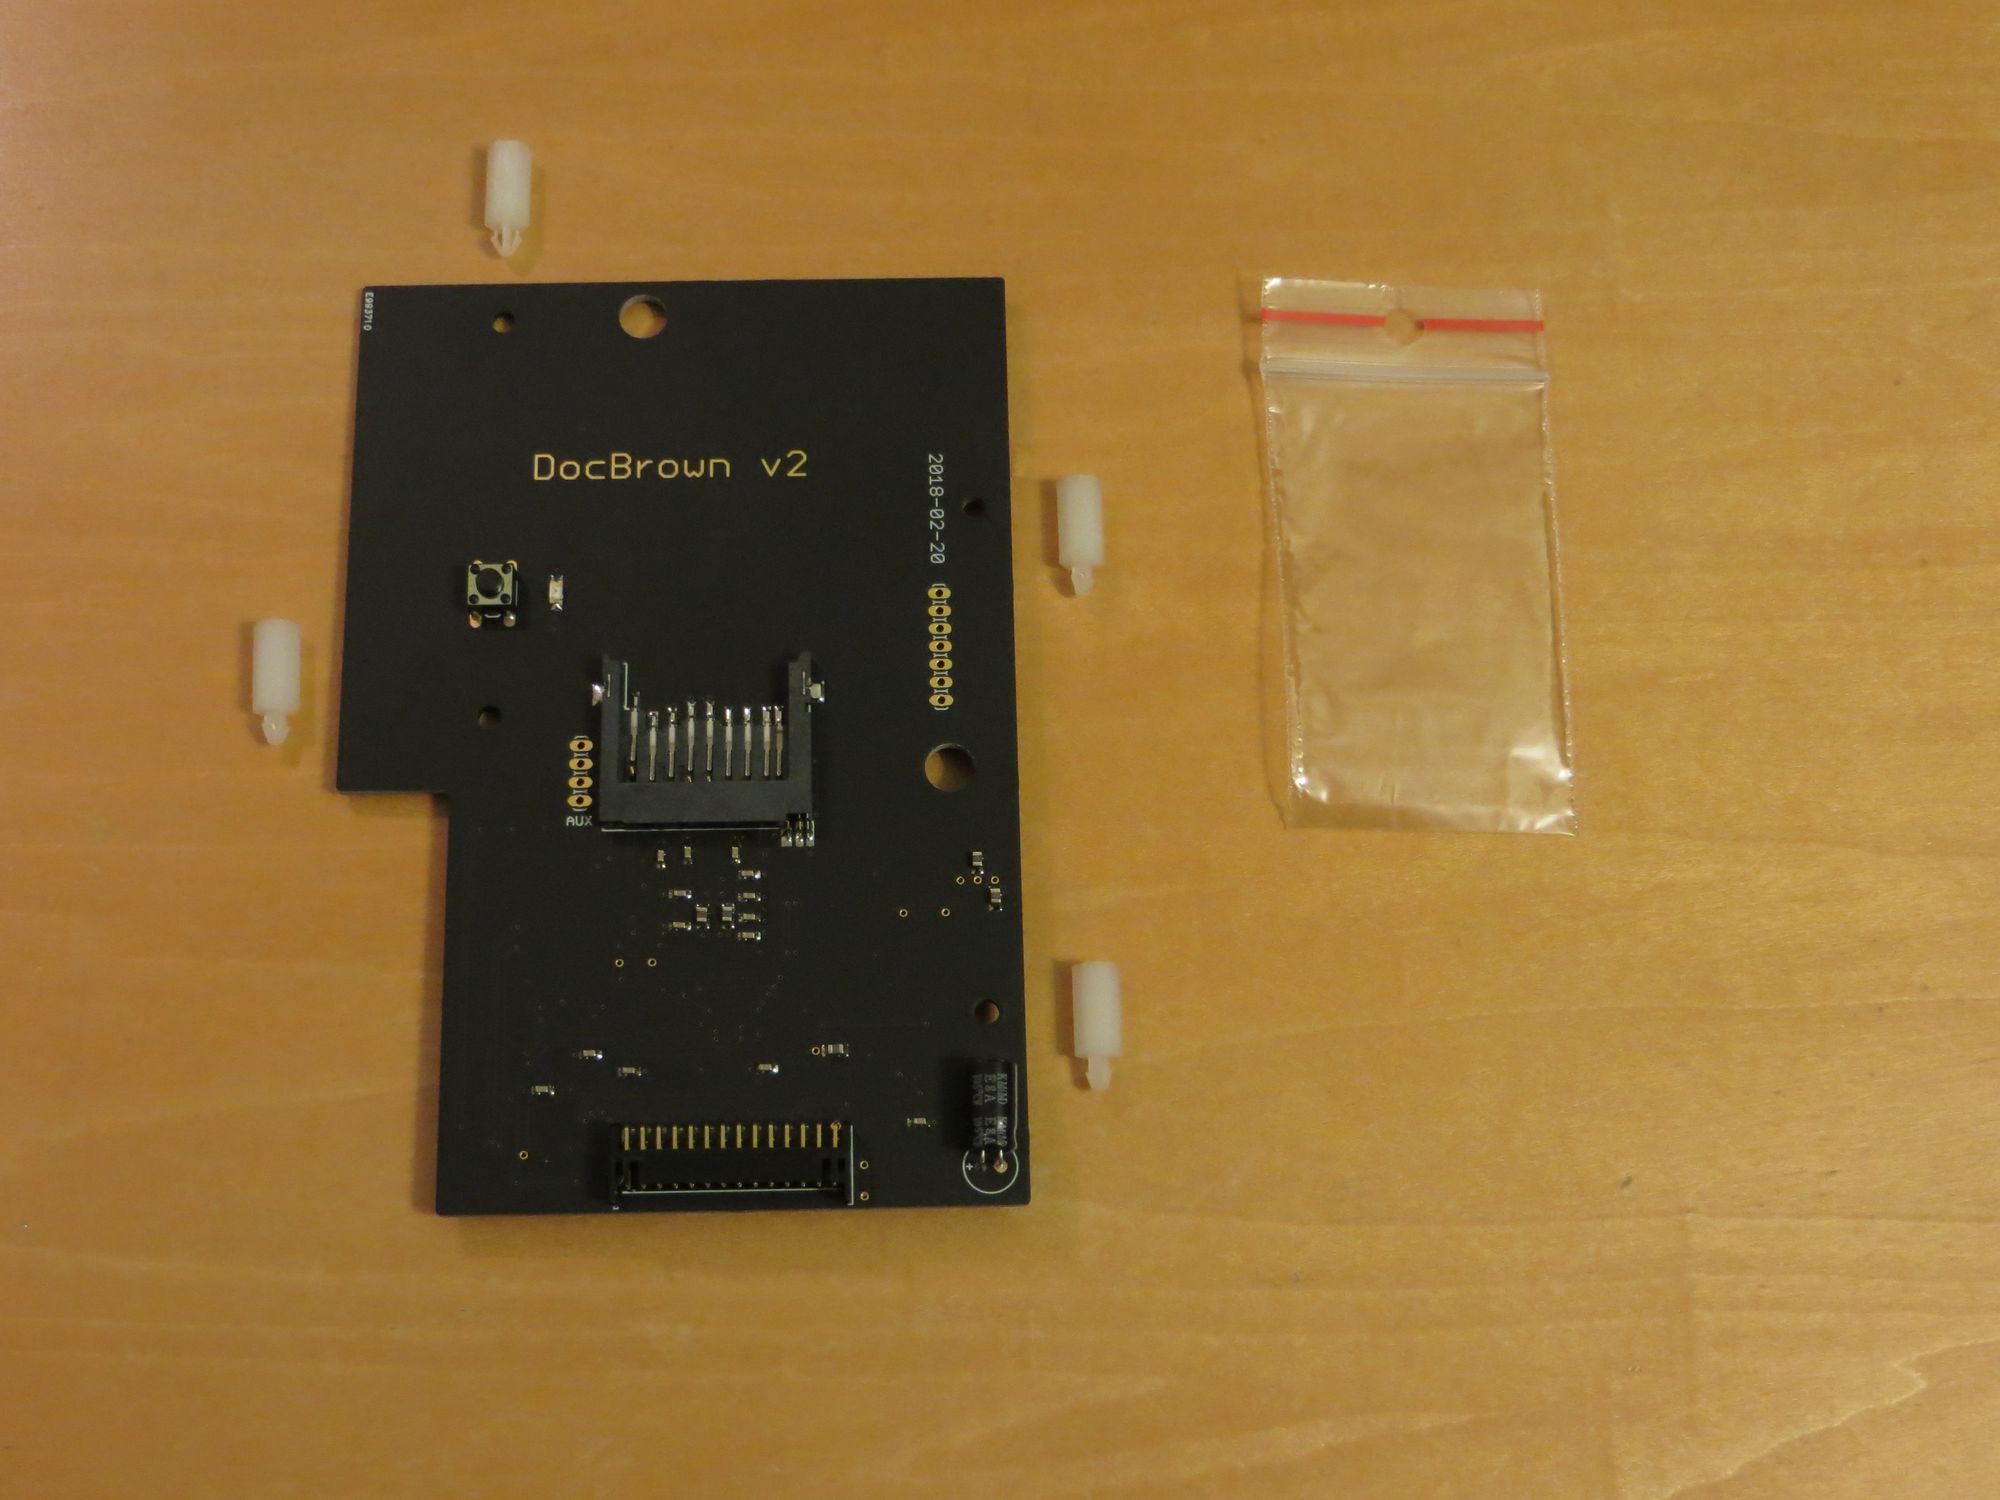
- Install all 4 support pegs in DocBrown PCB
- Unscrew the CD-ROM drive ground wire, then put the screw back in
- Gently disconnect the drive data cable
- Remove the drive assembly and store it away
IMPORTANT: The data cable might require a bit more force to pull it out but be careful not to damage the connector or wires. If it helps you can temporarily remove the screw holding down the ferrite ring. Same goes for DocBrown, make sure the plug and connector are perfectly aligned before trying to push it in.

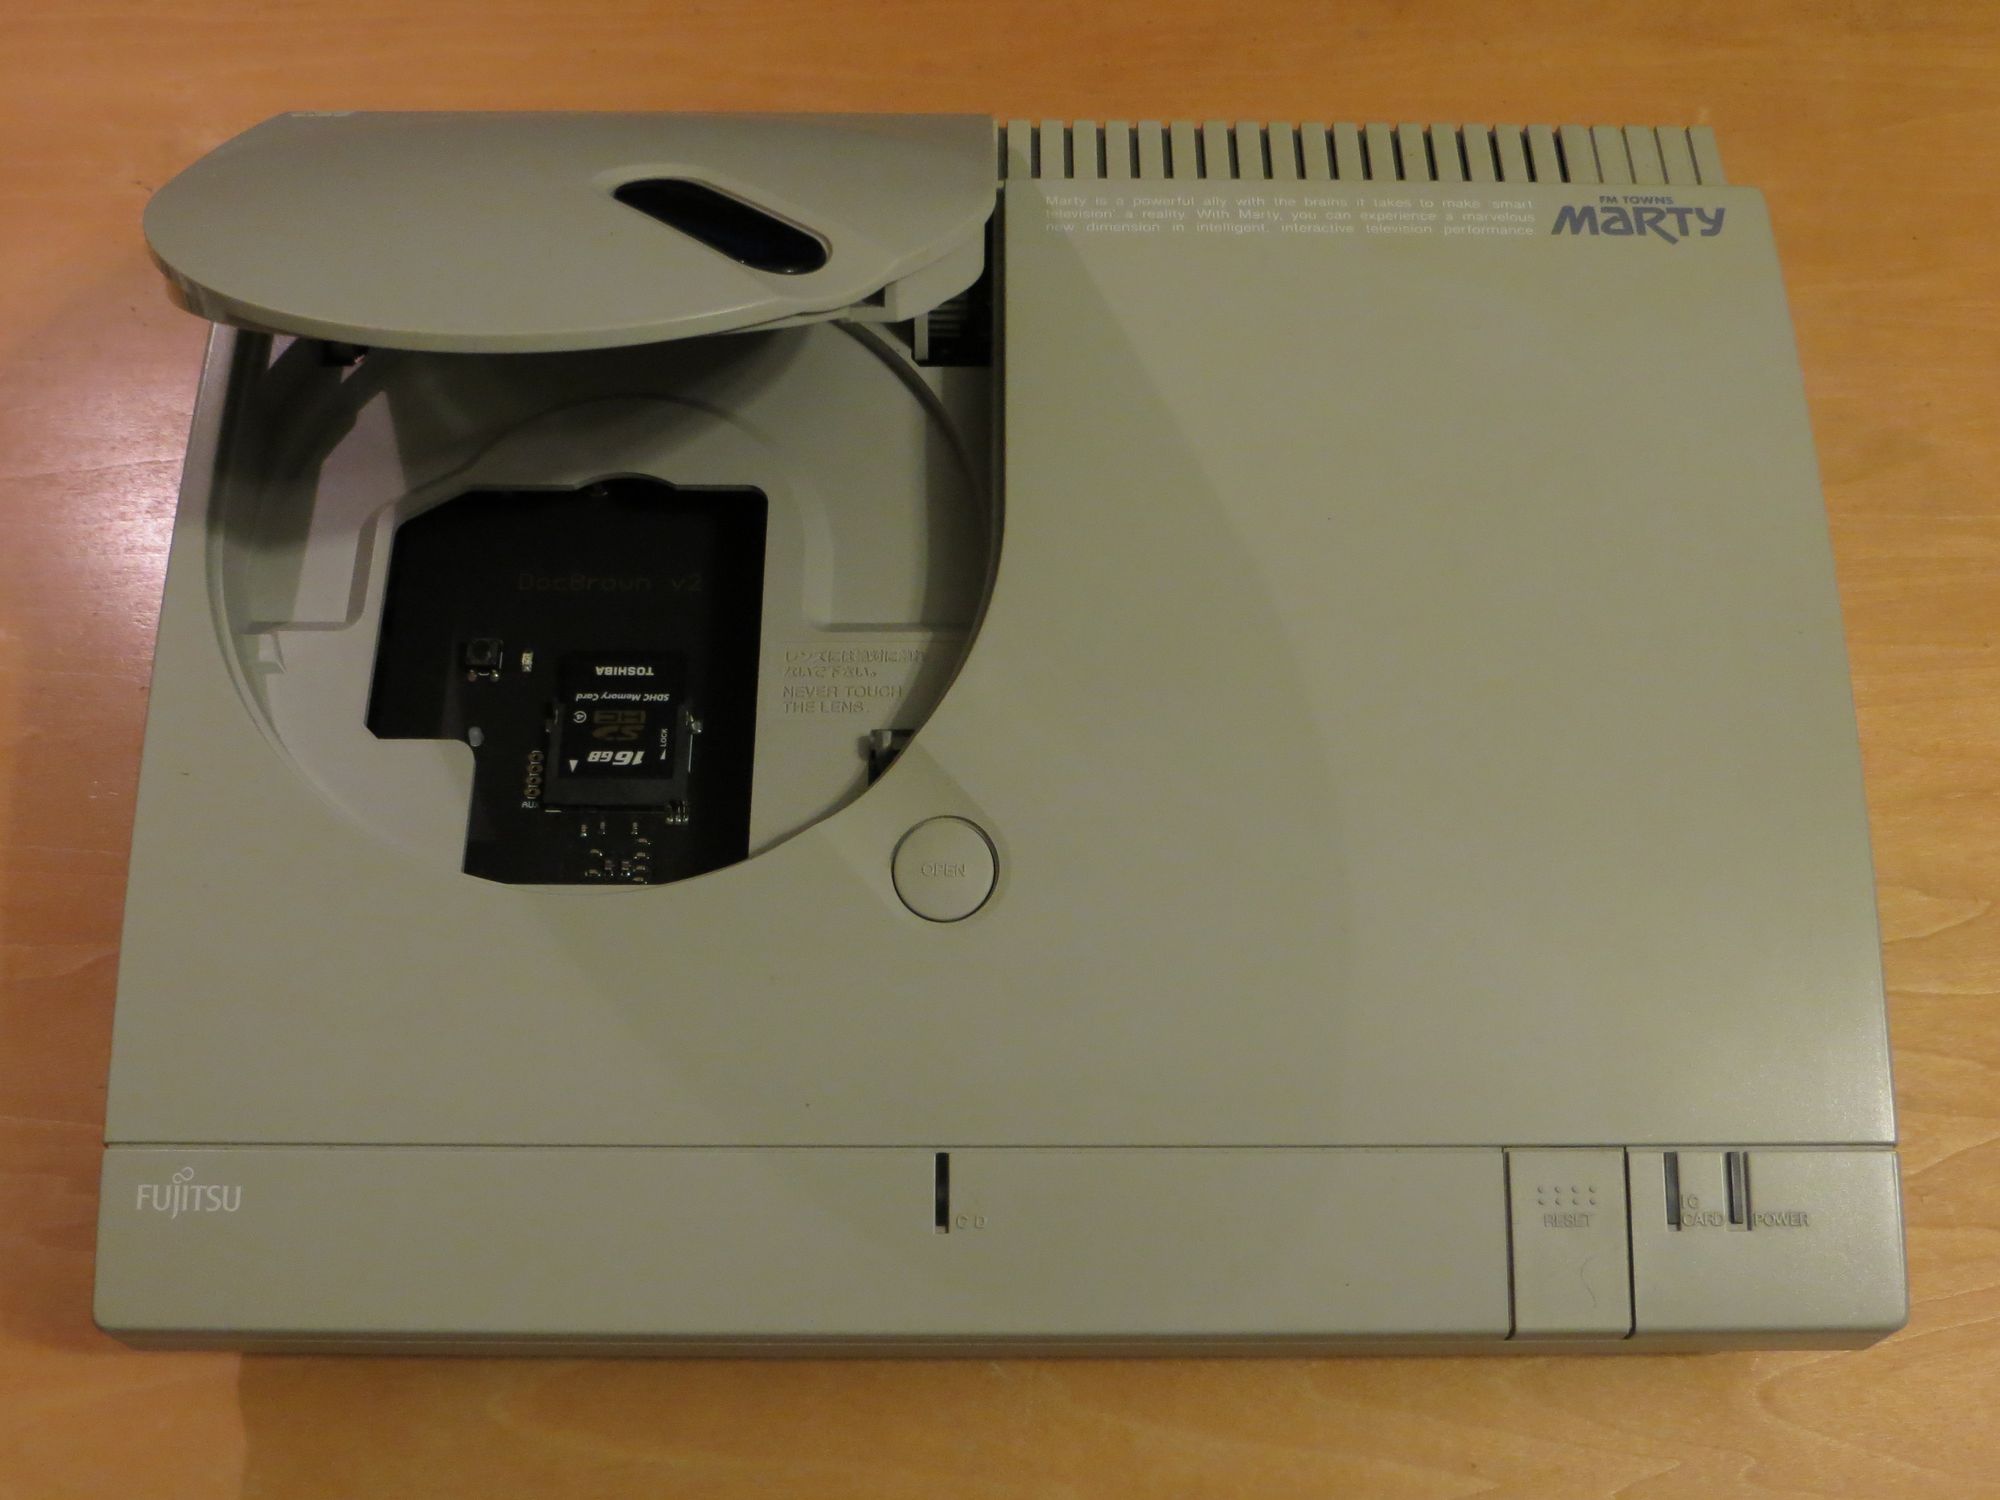
- Install DocBrown over the original metal pegs and connect the data cable
- Before you close the case do a last check and make sure you’ve installed the pegs correctly and the device is not touching the metal shield below it
- Put the upper cover back on, verify everything fits properly
- Reinstall the 4 screws holding together upper and lower parts of the case
- Enjoy your ODE!
